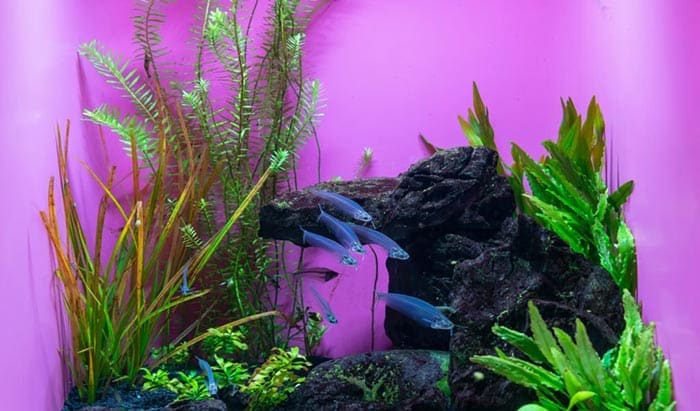
Are you looking to give your aquarium a new look? One easy way to do this is by attaching an aquarium background. They come in various colors and designs and can make your aquarium stand out.
This guide will show you some methods for attaching an aquarium background. Each method has its pros and cons, so choose the one that works best for you. Keep in mind that the background may not be completely watertight, so you’ll need to use some sealant to keep water from seeping behind the background.
Interior and Exterior Backgrounds
When it comes to securing your aquarium background, there are two main areas to consider: the inside and outside of the aquarium.
However, the options for materials to apply your background inside the aquarium are limited. Most materials used to secure a background can seep into the water and poison the inhabitants. This is because interior backgrounds are constantly exposed to water, making it difficult for the sealant to grip appropriately.
On the other hand, exterior backgrounds are not exposed to water and can be applied using a variety of materials.

How to Shape the Background to Fit Your Aquarium
Use a tape measure to determine the glass panel’s size. With a ruler and a pencil, indicate where you’ll trim or shape the background’s edges for the aquarium. This prevents any unwanted overhang. Ensure all edges are consistent and meet your criteria before setting the background. If the measurements aren’t right beforehand, adjusting them later will be challenging.
How to Apply an Aquarium Background
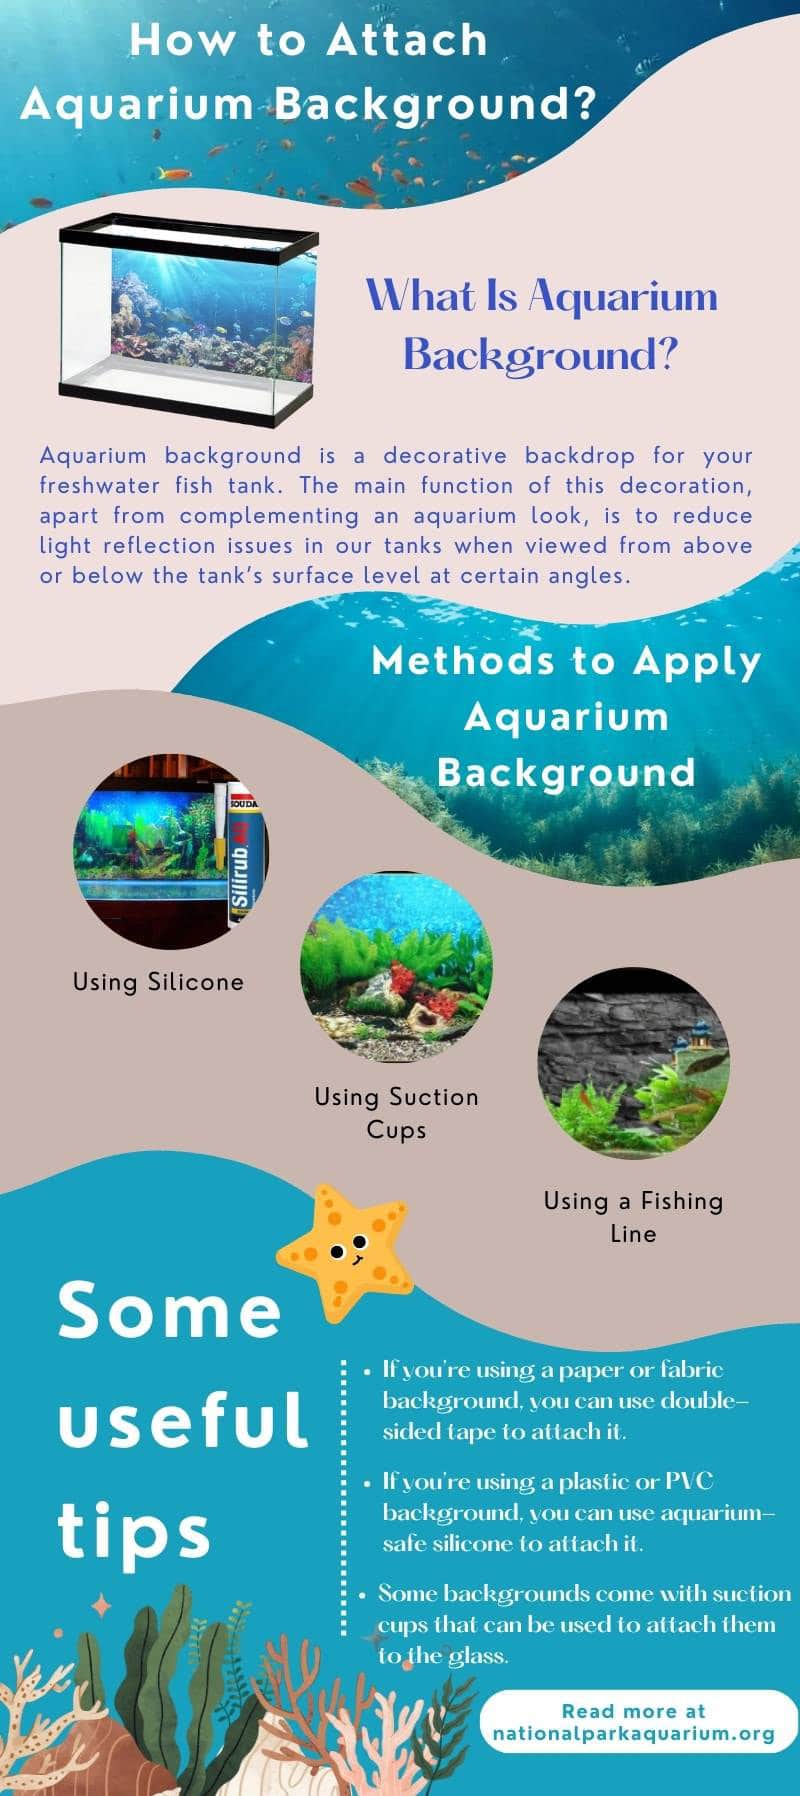
Method 1: Apply an Aquarium Background Using Silicone
What you will need
- Aquarium Background
- Roll of Silicone
- Silicone Gun
- Razor Blade or Exacto Knife
- Scissors
Step 1: Measure and tailor the background
Begin by measuring your aquarium background to ensure it will fit perfectly inside the tank.
The background must be the same size or slightly smaller than the tank so you can easily secure it in place. If necessary, trim the background using scissors.
Step 2: Apply the silicone
Next, apply a generous amount of silicone to the back of the aquarium background using a silicone gun. You will want to make sure that there are no dry spots and that the silicone is evenly distributed.
Step 3: Glue the background to the tank exterior
Once the silicone has been applied, carefully place the background into the tank and press it firmly into place. Make sure that the background is positioned where you want it before moving on to the next step.
Step 4: The finishing touch
Finally, use a razor blade or Exacto knife to trim away any excess silicone that may be oozing out from around the edges of the background.
Allow the silicone to dry for 24 hours before adding water to the tank.
Method 2: Put Background on Fish Tank with Suction Cups
What You’ll Need
- Aquarium silicone sealant
- Towel
- Waterproof tape
- Scissors
- Ruler or measuring tape
- Pencil
- Suction cups (small and medium-size)
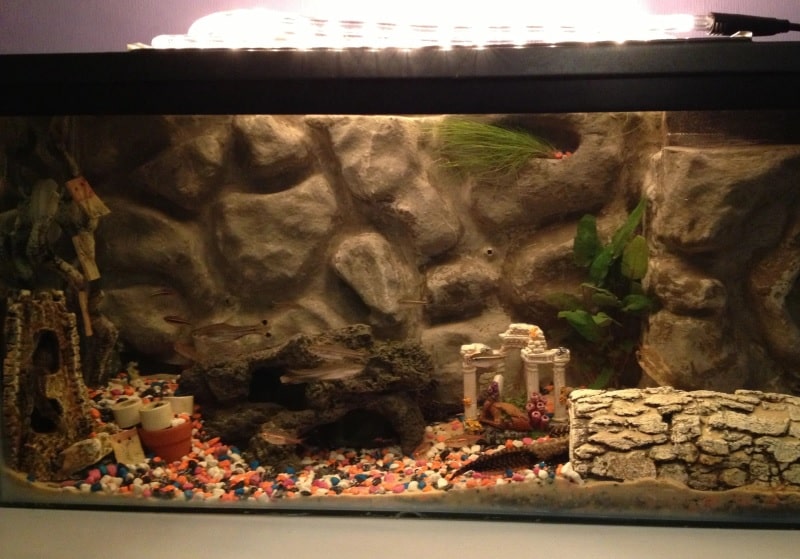
Step 1: Measure and trim the background
Always measure the aquarium background to fit the inside of your aquarium. Once you have the measurements, cut the background to size with scissors.
Step 2: Mark spots for tubes and cords
Next, use a pencil to mark where you need to make cuts for any equipment inside your aquarium, like filter tubes or power cords. Make sure that these openings are big enough to easily slide the equipment through.
Step 3: Mark straight lines to guide the cutting slits
Use a ruler or measuring tape to mark straight lines on the back of the aquarium background. These lines will be used to guide when cutting slits for the suction cups. Make sure that the lines are evenly spaced apart.
Step 4: Attach the suction cups to the background
Start by placing a small amount of silicone sealant on each suction cup. Then, press the suction cup onto the marked line on the back of the aquarium background.
Repeat this step until all of the suction cups are in place.
Step 5: Attach the background
Once all of the suction cups are attached, it’s time to attach the background to your aquarium.
Start by wetting the inside of your aquarium with a damp towel. This will help the background to stick to the glass.
Step 6: Remove the suction cups and smooth out the background
Next, remove all of the suction cups from the back of the aquarium background. Starting at one end, press the background into place on the inside of your aquarium. Use your hands to smooth out any bubbles or wrinkles.
Step 7: Secure the background edges
Finally, use waterproof tape to secure the background in place. Be sure to tape around all of the edges and seams.
Once the background is secure, you can replace any equipment that was removed and fill your aquarium with water.
Method 3: How to Attach an Aquarium Background Using a Fishing Line
What You’ll Need
- Aquarium background
- Fishing line
- Scissors
- Tape measure (optional)
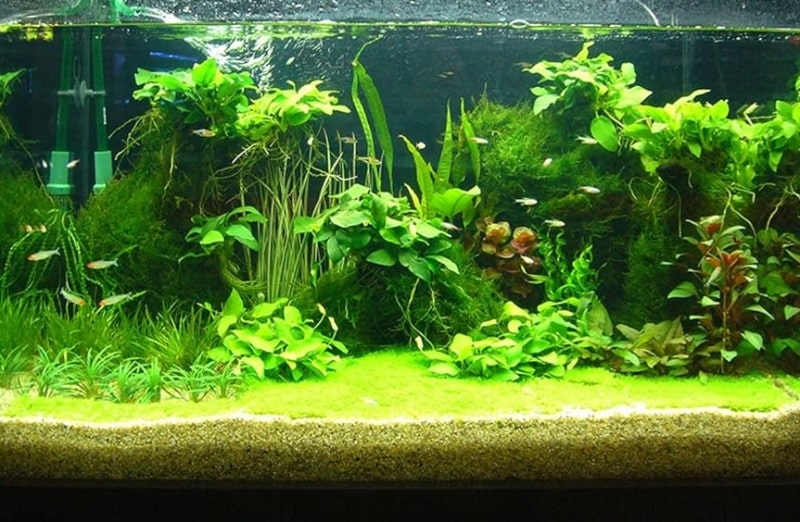
Instruction
- Start by measuring the length and width of your aquarium background. You’ll need to know how much fishing line to buy later on.
- Cut a piece of fishing line that is twice as long as the aquarium background.
- Fold the fishing line in half and tie a knot at the center. This will be your starting point.
- Tape one end of the fishing line to the top corner of the aquarium background.
- Use your fingers to curl the background around the edge of the aquarium, making sure that it’s tight against the glass. As you do this, keep feeding more fishing lines through the center knot until you reach the other side.
- Tape the other end of the fishing line to the top corner of the aquarium background.
- Trim off any excess fishing line.
Our Tips for Attaching Aquarium Backgrounds
Below are a few notes from the National Park Aquarium that you should refer to before install an aquarium backgrounds.
- If you’re using a paper or fabric background, you can use double-sided tape to attach it. Just be sure that the tape won’t damage your aquarium glass.
- If you’re using a plastic or PVC background, you can use aquarium-safe silicone to attach it. Just be sure to follow the instructions on the silicone tube, and give yourself plenty of time to let the silicone cure before adding water to your aquarium.
- Some backgrounds come with suction cups that can be used to attach them to the glass. Make sure that the suction cups are compatible with your aquarium glass.
- If you want a more permanent solution, you can use silicone sealant to glue the background. Let it dry completely before adding water to your aquarium.
- You can also use a frame to attach your background. Still, the frame should be made of aquarium-safe materials, and it should not damage your aquarium glass.
Conclusion
Attaching an aquarium background is a simple process that can be done under an hour. Suction cups are a good way to secure the background, but self-adhesive backgrounds will also work well.
Depending on the type of background you plan to use, you can easily attach it with the abovementioned methods. Often, people purchase vinyl backgrounds with available adhesive, it is a good product for a quick decoration, too. Make sure to check all your options.

