Are you dreaming of a tranquil backyard oasis, complete with the soothing sounds of water and the vibrant colors of Koi fish? Do you find yourself overwhelmed by the thought of constructing your own Koi pond fish? This blog is here to guide you through the process. We’ll break down the steps to creating a thriving Koi fish pond, from planning to final touches. Dive in to transform your backyard and create the perfect habitat for your Koi.
1. Pre-Planning
Building a koi pond is a great way to add beauty and interest to your yard. It can provide a fun and relaxing place to be for your family and guests. However, before you start digging, there are a few things you need to plan in order to ensure a successful project.
Pond Location
The initial phase in constructing a koi pond involves selecting the appropriate location. Here are some factors to consider:
- Sun Exposure: Koi ponds require at least six hours of direct sunlight daily. As Koi are ectothermic creatures, they depend on sunlight to regulate their body temperature.
- Steer Clear of Trees and Shrubs: Ensure the chosen location is at a safe distance from trees or shrubs. While it’s not necessary to completely avoid them, doing so reduces the maintenance work.
Falling leaves can lead to issues like filter blockages and water contamination. Additionally, shade from large trees can deprive your koi of essential sunlight. Hence, location selection is a crucial step in building a koi pond.
Pond Shape
When determining the shape of your pond, several factors come into play. These include the dimensions and design of your garden, the quantity and species of fish you intend to house, and the overall visual appeal you desire.
Here are some common shapes that are often considered when planning to build a koi pond:
- Oval: The timeless oval shape is a popular choice. It’s straightforward to build and maintain, making it a practical option.
- Rectangle or Square: If your garden space is limited, a rectangular or square pond might be suitable. These shapes can fit snugly into compact spaces while still providing ample room for a decent number of fish.
- Circle or Hexagon: For those looking to add a unique touch, a circular or hexagonal pond could be the way to go. While these shapes might pose a bit more of a challenge during construction, they can certainly add a distinctive element to your landscape.
Pond Depth
When determining the depth of your koi pond, several considerations come into play:
- Climate: The climate of your region is a significant factor. In areas with hot summers, it’s crucial to ensure that your pond is deep enough to prevent the water from overheating. Typically, a 4-foot depth is the minimum recommended for a koi pond in a hot climate, while a 3-foot depth may suffice in milder climates.
- Fish Size: The size of your koi is another important consideration. Koi can grow quite large, sometimes reaching lengths of up to 3 feet. As they grow, they require more space and deeper water to swim comfortably. If you plan on keeping large koi, your pond should be at least 6 feet deep.
- Aesthetics: The visual appeal of your pond is also important. Generally, a deeper pond is more visually pleasing than a shallow one. If you envision your koi pond as a focal point in your backyard, you’ll likely want it to be at least 4 feet deep.
2. Utility Locations and Permits
Dial 811: This is a crucial step in the process of building a koi pond. After you’ve selected the ideal location for your koi pond, the next step is to prepare the site. However, before you start digging, it’s essential to dial 811 to ensure you won’t be disrupting any underground utility lines.
Permits: It’s advisable to consult with your local building authority to understand if there are any specific regulations for constructing a pond in your locality. Depending on the pond’s size and purpose, you might need to secure a permit. If you’re part of a Homeowners Association (HOA), it’s also a good idea to check with them.
3. Sketch Your Pond
This is another part of the planning part in how to build a koi pond. Using a garden hose or string, mark out the shape of your pond. This is a good time to experiment with different pond shapes if you want to get a better idea of how a particular shape will look on the ground.
4. Excavate the Pond
It’s time to start excavating! The size of your pond will dictate whether a simple shovel will suffice or if heavier machinery like an auger is needed.
Avoid crafting steep, vertical sides. Instead, as part of the koi pond construction process, form a ledge around the pond perimeter for the placement of marginal aquatic plants. This ledge should be approximately 12 inches in width and 18 inches in depth. Depending on your koi pond’s size, it might be possible to establish multiple levels.
5. Install the Drain (Optional)
Pond drains facilitate water circulation and aid in the removal of biological waste. However, a drain isn’t always a necessity for a koi pond, particularly if you have a self-sustaining ecosystem and other filtration mechanisms in place. If you choose to incorporate a drain, ensure you excavate a trench for the pipe or tubing to prevent it from pressing against the pond liner.
When installing the drain as part of your koi pond construction, it’s recommended to use a PVC pipe or flexible tubing with a minimum diameter of two inches. You’ll also need to fit a check valve to stop water from backflowing into your pond. The pond drain hose should then be connected to a settling chamber located in an in-ground compartment or tank.
6. Lay the Pond Liner
Before laying the liner, ensure to clear any rocks, roots, or debris that could potentially puncture it. Begin by unrolling the liner (there are various types of pond liners, with EPDM being one of the most frequently used). Given the bulkiness of pond liners, it’s advisable to have assistance. This is why having a partner during each step of building a koi pond can be beneficial.
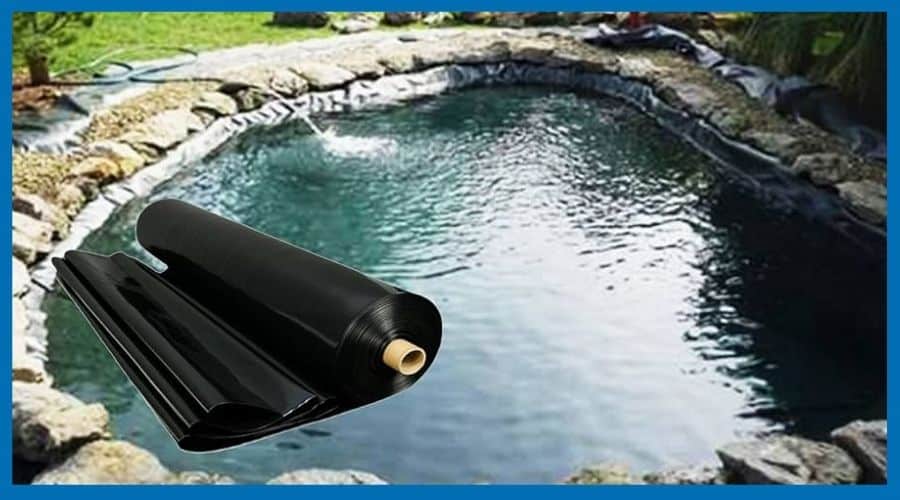
Start from one end of the pond and gradually work your way around, ensuring the liner is free from wrinkles. Leave about 1 foot of liner extending beyond the pond’s edge to accommodate soil settlement. Once you reach the other end of the pond, trim any excess liner and secure it with heavy rocks.
7. Add Rocks and Gravel
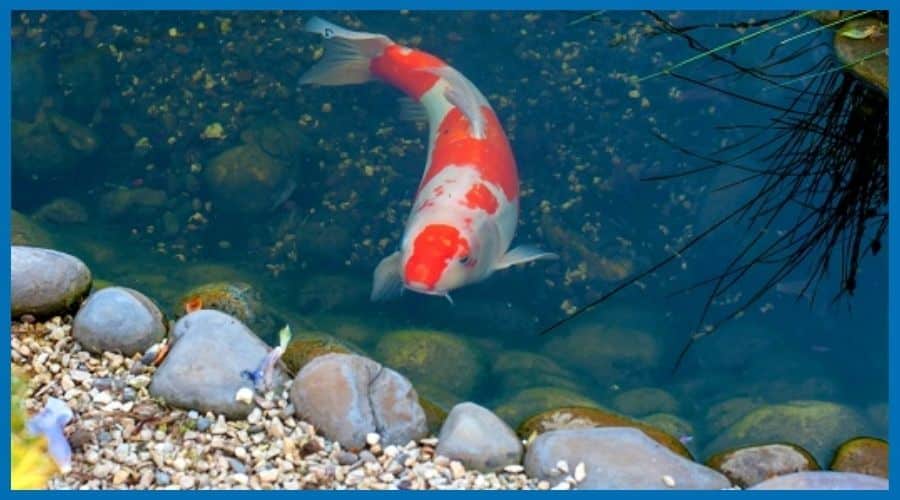
Begin by spreading a layer of coarse gravel over the liner, especially if your koi pond construction involves creating an ecosystem pond. This will offer a solid foundation for the larger rocks or boulders you’ll be placing on top. Ensure to use rocks that have been thoroughly cleaned before introducing them to your pond water, as unwashed rocks may harbor harmful bacteria or chemicals.
Next, place your chosen quantity of rocks atop the coarse gravel layer. Remember to reserve sufficient space around the pond’s perimeter for plants or other decorative elements.
8. Install Pump, Filters, and Other Equipment
The installation of certain equipment is crucial in the construction of a koi pond as it reduces maintenance and ensures smooth operation.
Pump: The dimensions of your pond will dictate the size and type of pump required. The pump’s role is to circulate the water in the pond and maintain its oxygen levels. It’s important to ensure that the pump’s Gallons Per Hour (GPH) rate circulates the entire volume of the pond water every few hours.
Filters: Filtration systems are essential for koi ponds to maintain clean and healthy water, which is vital for the well-being of your fish. There are various types of filters available, but we recommend a combination of mechanical and biological filters.
- Mechanical filters, such as a pond skimmer, remove physical debris from the water.
- Biological filters eliminate harmful toxins and waste products.
By employing both types of filters, you’ll foster a cleaner and healthier habitat for your fish.
Aerators: Aeration is key to maintaining oxygenated pond water and preventing stagnation. There are multiple methods to introduce aeration to a koi pond, with the use of an aerator being one of the most common.
Additional optional equipment for your koi pond includes a pond heater, UV clarifier, and pond lights.
9. Fill the Pond with Water
You can fill the pond using a garden hose or a water pump. If you opt for a hose, ensure it’s connected to a water source situated higher than the pond to facilitate a downhill flow of water. If you’re using tap water, it’s crucial to add a dechlorinator or allow a 24-hour period for the chlorine to naturally dissipate before introducing any koi fish.
10. Introduce Plants and Other Biological Filtration
Filtration is a crucial aspect of building a koi pond, and there are several methods to achieve it.
Plants: Plants serve as natural filters and are one viable option. Incorporating a variety of floating, emergent, and submerged plants can help oxygenate the water, trap waste, and provide shelter for your koi fish.
Rocks and Gravel: Rocks and gravel can also contribute to biological filtration. Apart from their aesthetic appeal, these elements can host beneficial bacteria that aid in breaking down fish waste and other organic matter.
Other Animals: Certain animals, like frogs and snails, can also contribute to biological filtration. However, there’s typically no need to introduce these creatures manually as they are naturally attracted to your backyard water feature.
11. Introduce Koi Fish
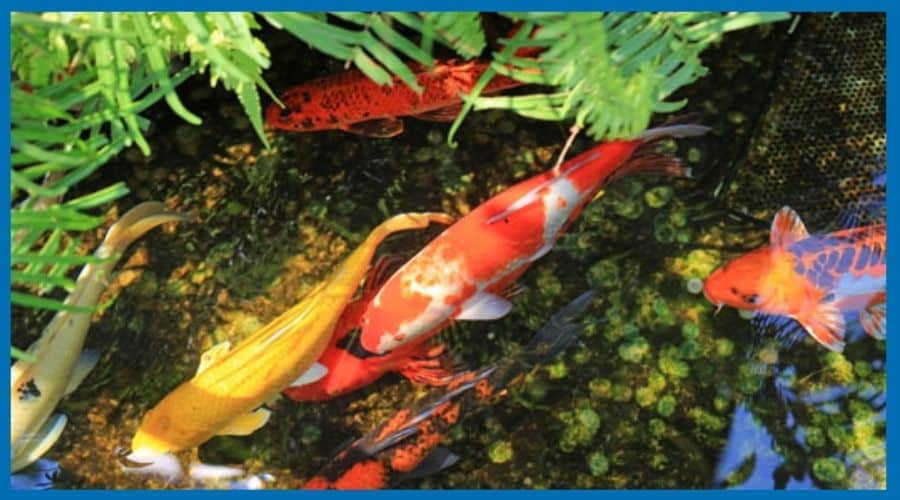
Now comes the exciting part of building a koi pond – introducing the koi! It’s crucial to add new fish to the pond gradually and cautiously to allow them to adjust to the water temperature. Begin by placing the koi in plastic bags filled with water. Gradually acclimate the fish by letting their sealed bag float in the pond water for about 30 minutes before setting them free into the pond.
12. Clean Up and Final Touches
The concluding step involves tidying up and adding the final touches. This encompasses pruning any plants that are encroaching too close to the pond’s edge, as well as clearing any stones or debris that might have inadvertently ended up in the pond during the construction process.
13. Conclusion
In conclusion, building a Koi Pond Fish is a rewarding endeavor that enhances the beauty of your outdoor space. This blog has guided you through the process, from pre-planning to the final touches. We hope you found it informative and inspiring. For more insights and guides on similar topics, don’t forget to check out our other blogs at National Park Aquarium.
>> See more related articles:

